
AutoPing is a powerful feature that helps ensure network reliability by automatically monitoring the availability of a connected device. If the device stops responding to pings—indicating it may be offline, frozen, or unreachable—the PDU can take corrective action by automatically rebooting the outlet, turning power off, or sending a notification. This is especially useful for critical network infrastructure like routers, switches, or servers that need to recover quickly from unexpected outages without manual intervention.
This guide will show you how to enable and configure AutoPing on netBooter B and netBooter DU series PDUs using the built-in web interface. With just a few steps, you can set up automated monitoring and recovery for your connected devices.
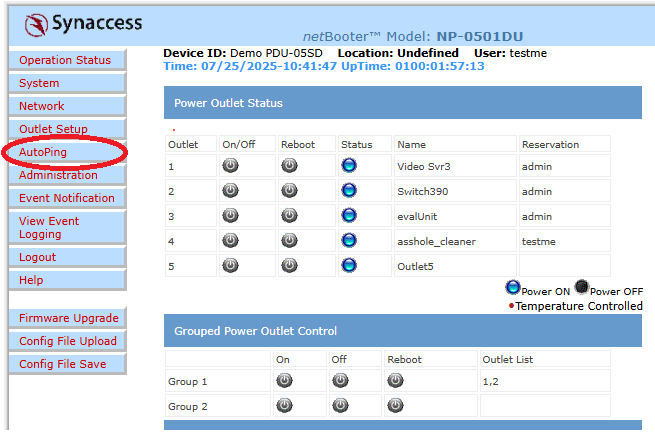
Setting Up AutoPing on netBooter B and DU Series PDUs
AutoPing can be configured only through the Web UI (not via CLI). Follow the steps below to enable and fine-tune AutoPing monitoring and automated outlet control.
Note that netBooter DU series PDUs have more configuration options and capabilities than netBooter B series PDUs - this guide will highlight the differences when applicable.
1. Access the Web Interface and navigate to AutoPing settings
Log into your PDU’s Web UI using its IP address.
In the left-hand menu, click on "AutoPing". You’ll see a configuration table that allows you to monitor one IP per outlet (e.g., 2-outlet PDUs = 2 AutoPing entries, 5-outlet PDUs = 5 entries, etc.).
2. Configure Each AutoPing Entry


Destination IP
Enter the IP address of the device you want to monitor. This is the address the PDU will continuously ping to test connectivity.
If you are testing overall network connectivity, we recommend a common, public IP such as google.com or 8.8.8.8. You can also configure this ping an upstream network device (e.g. a router, switch, modem, etc) or a downstream device on your network you'd like to monitor (e.g. a PC, media player, smart TV, etc).
Outlet List
Choose which outlet(s) should respond if the ping check fails. For example, if Outlet 1 powers the device being pinged, select Outlet 1. You can specify multiple outlets with a comma-separated list (e.g. 1,2,3).
Ping Failures Before Action
Specify how many failed pings must occur before the PDU takes action. This helps avoid unnecessary reboots due to short-term hiccups.
Action Type
Note that for netBooter B series PDUs, the action is always to Reboot the outlets specified, and action type cannot be specified/configured.
For netBooter DU series PDUs only: Choose what the PDU should do when the ping failure threshold is reached:
- Reboot: Power cycles the selected outlets.
- On: Turns the outlets on.
- Off: Turns the outlets off.
- Email Only: Sends a notification email (email setup required and network must still be reachable).
3. Adjust Global AutoPing Settings (Optional)
These settings apply across all AutoPing entries:
- Ping Destination IP Interval: Set how often (in seconds) the PDU sends a ping to each destination.
- Reboot Attempts to Fix Problem (only applies to "Reboot" action): Define how many times the reboot should be attempted if pings continue to fail after the first action.
- Max: 254 attempts
- 0 = Retry indefinitely
netBooter DU only global AutoPing settings:
- ICMP Timeout in Seconds: Choose how long the PDU waits for a ping response before deciding it failed.
- Allowed range: 1–9 seconds
- AutoPing Stops if Network Link is Not Active: If this is enabled, AutoPing will automatically suspend when the network link goes down.
- Recommendation: If you're monitoring an upstream network device (like a switch or router) that the PDU is directly connected to, consider disabling this option. Sometimes an unresponsive upstream device may bring down the link, falsely halting AutoPing.
- Note that this cannot be configured for netBooter B series PDUs, and is always enabled by default